


 These are table ornates, as I said before....ornies seem to be the primitive word for a room decoration. Prims are getting to me.
I want my own Raggedy Ann ornie...'whine'...C&G Design
Words and photos by Dawn,C&G Design.


I am a
Nigella

What Flower
Are You?
These are table ornates, as I said before....ornies seem to be the primitive word for a room decoration. Prims are getting to me.
 This one is over the knee wall door. It's a four level rack.
 Here is the only 3 foot rack. I must say....the design of this is ingenious. I thought just a curtain like bracket would do but he doubled my space by creating his own brackets. A good thing too....
 The cubby's are getting full.....
 And some are not so neat right now.
  Friday was the anniversary of Michael Jackson's death at the age of 50. His estate has continued to profit on his music and his very being.
 one.....
 two....
 three.....
 four.....hair and wigs....
 and five.....sorry for the blurr, the drawer became farther away from my camera and I'm exhausted, long day today starting with another filling at the dentist this morning, all is well though just tired......and embarrassed.
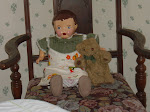
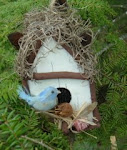
 She is a stockinette doll, that is a knit fabric over a molded face and then painted features. Can you believe I had to bargain for her at Goodwill? She wasn't priced and the suggested $5.99 for her..."what."
 We settled on the in-between price of $2.99. Thank goodness my kids weren't with me, they'd be mortified.
 She did have a base, hummm.....maybe a Bradley anyway. C&G Design
 Simple and sweet, it's a light bulb. C&G Design
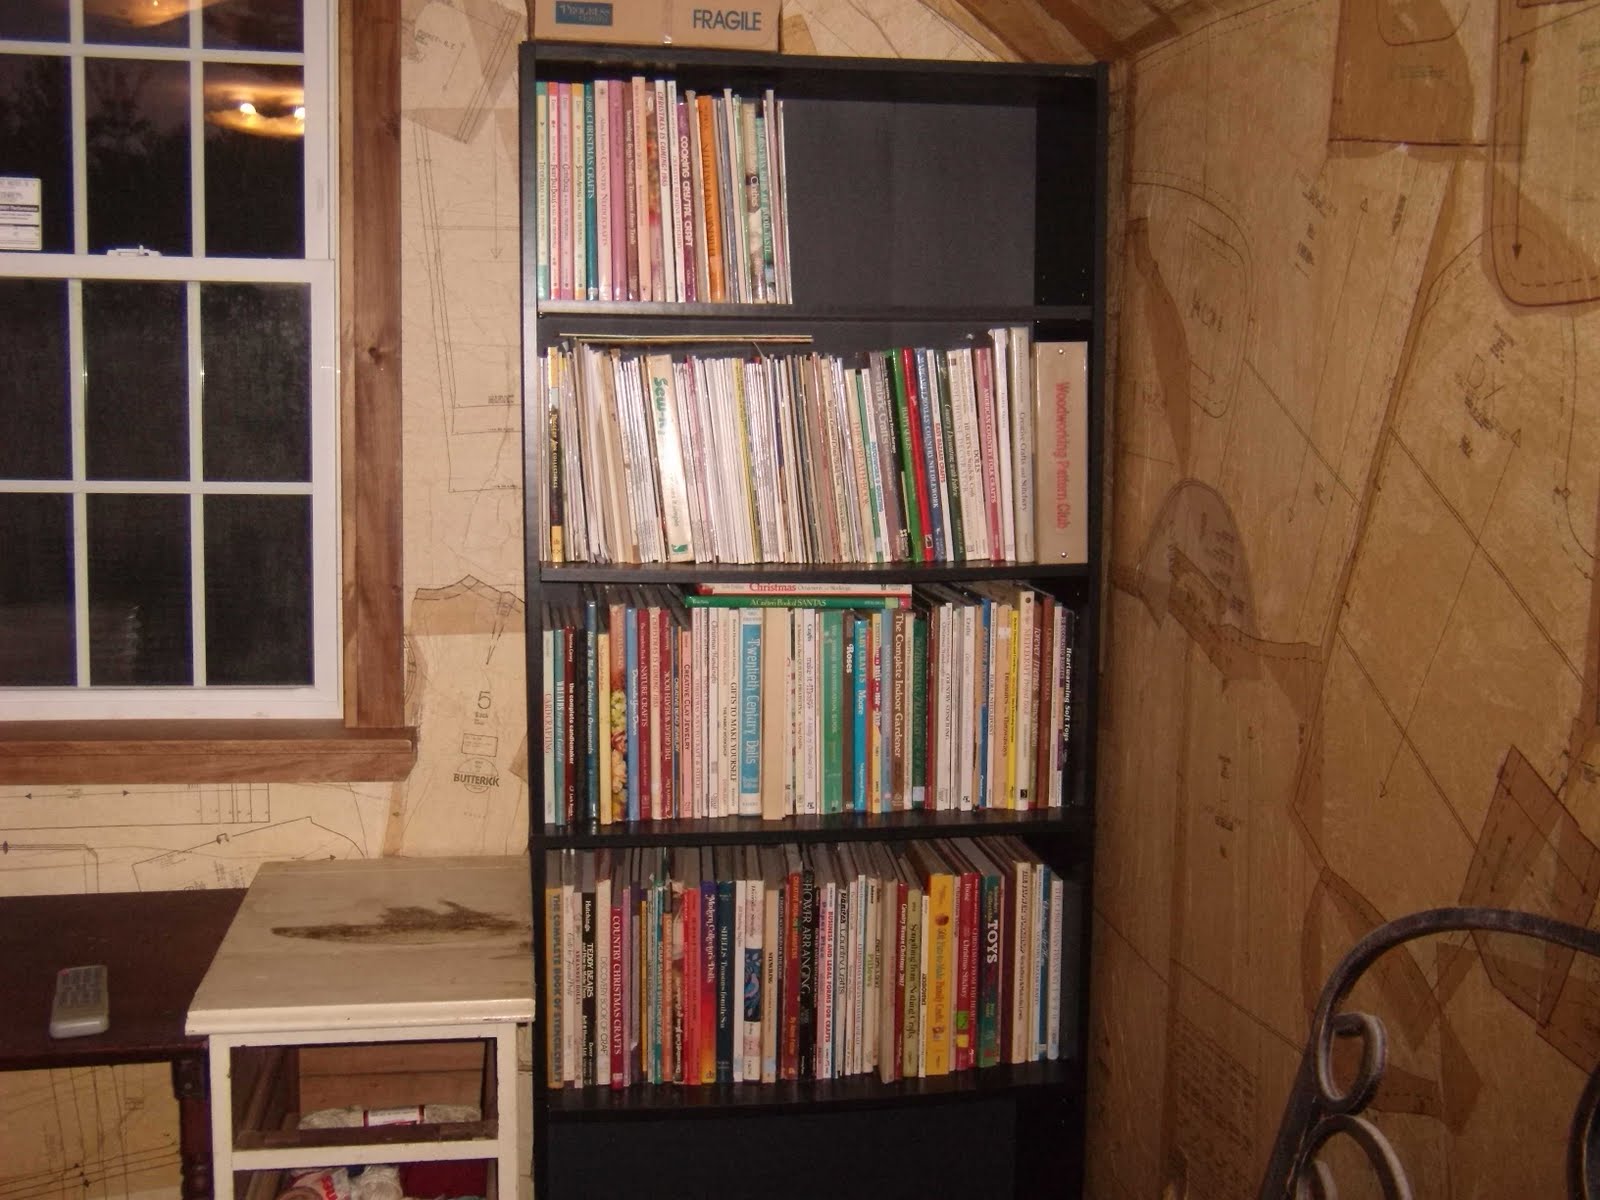 And I have the matching one to fill up also.....
 This is the good ole' standby, it's placed at the head of the stairs, not to worry all the bookshelves are attached securely to the wall studs.
 Well, having lived here for almost 18 years, I've seen plenty of bats. The night of the "ginormous bug" for example......it flew down the hallway of our mobile home right at me. We figured it came in the house when we let the dog in. I screamed ducked and slammed the door thinking I'd hear a thud against my bedroom door, nope, these mammals can turn on a dime. Saturday night though, was a unusual night, we had a scheduled power outage for maintenance on the transmission lines, midnight to 5 am, yep...and on the hottest night of the year. Now whether the bat came in while the deck door was opened for air or what, it's a mystery, I'm sure his sonar was messed up because I think if we had the constant humming from the fish tank, we wouldn't of had this visitor. But....this one is a pretty....good....sized one. It had a wing span of about 7 inches. Eww.
 Well, I sat watching this guy for the biggest part of the morning and finally cornered my husband to remove it. After all...it hung just behind the entertainment stand and every time I glanced at the t.v. I saw mister B. Right about the time my husband moved the stand and positioned himself behind it, the hairy GIR-NOR-MOUS bug took off. I hid in my bedroom where I could peak out the door and feel safe. This was after it dawned on me.....gee, that thing just flew up into the skylight, and DOWN it came! Guess my dog didn't take a liking to my fear and started snapping at it. You could tell he had no clue what-so-ever it was, it was more of a obligatory snap. See the fright in he eyes.
 My poor husband waved his arms and blocked areas of the house when we considered it flying the wrong way, shortly, the bat settled on this sign, just above the open deck door and to the world of freedom.
 I think the poor thing had exhausted itself, it didn't make attempt to budge when my husband reached for it. My husband was concerned the bat wouldn't make it out the door without getting hurt in some way.
 I am this close.....C&G Design
 Anyway, here are a few ornaments I picked up today on my trip thrifting, they are in a baggie and some of the pins have fallen out due to it. I think the maker did not use glue either. I thought they are so pretty and it's a nice change for using sequins which I have plenty of.
 Merry Christmas! C&G Design
 Ornies is the primitive word for ornaments and basically people in the Prim world make several bowl fillers, and or table sitters.
 They are usually grunged with a tea/cinnamon solutions that is brushed on the ornament after it's done, then it is allowed to dry or lots of times the piece is placed in the oven at a low temp. Be sure to watch your ornament!
 I'm going to design my own Raggedy Ann and Andy ornie one of these days.....soon.
 I didn't meet my goal of finishing my studio on Sunday and all that is left is to install the stair rails and the window trim with the wall baseboard. Sounds simple enough doesn't it?
 I gotta tell ya, I have been very distracted with unpacking the mountain of craft boxes that have been stored in my bedroom for the last 9 months. I'm itching......
 Oh well, I'm confident it'll be there for me next week. C&G Design
 But I was sooooo.......thinking he would not walk away with a temporary license. I was soooo thinking it's his first attempt and we would ride home in brooding silence. Drats! No such luck.
 My son's graduating class gifted the school team benches for the gym, Madame's class gifted new dugout benches with their hand print/names wood burned into it. They came out wonderful!
 The balloon drop was a great success at the moving on ceremony. I guess one other class tried this and it got stuck, the sixth grade teacher had to pull it. Our balloon drop was on the basketball hoop and it all came down like the dams opening on a river, too cool.
 I'm not sure how I managed this shot! All the students were announced by alphabetical order and they marched through the balloon arch up to the stage.
 Madame said her most favorite memory and then ended her piece by saying...."goodbye _____school, I will miss you."
 Here is our test wall, this areas won't show because I'm getting 2, 6 foot bookcases to go on either sides of the windows so it seemed like the logical place to start. We liked the smaller sized pattern pieces better than the large.
 Thank goodness the thrift shop has patterns for $.19 cents each! C&G Design
 Anyway....ever since my son went through our local school, there have been a few teachers joking about retiring due to a....group of boys..or a..gaggle of girls....etc. and our sixth grade teacher has decided to make it true this year. This teacher has been a favorite teacher of my son's, which is a hard thing to do! My daughter seems to like them all, so here is what we personally did. He likes golf.....
 Wouldn't this make a nice retirement gift? It's a home set for those rainy days. I love it!
 And life wouldn't be complete without a cuppa' java, this one states it all:
 And look at the inside......insert squeal here**!
  I had a bit of trouble wrapping so the whole thing ended up in a gift bag. C&G Design
 Well, I put myself on the decorating committee and got elected (ha!) for the gift committee. Here is my idea for decorating........I hope for a non-wedding atmosphere!
 The first flower I made is petaled, I quartered my paper and cut my half rounds.
 Then I fanned the paper with the flower side out.
 Wrapping the pipe cleaner around the center, I pulled the five layers of paper apart. I like this flower although finicky about staying round sometimes.
 Then I frayed the long side of the paper (group of five), and fanned the short side.....
 to get this carnation like flower, pretty huh? Protector of Vintage sent me a book about tissue paper flower I wished I could find but don't cha know it! I think it is in one of my 6 piles of craft books. I can't get this studio quick enough!
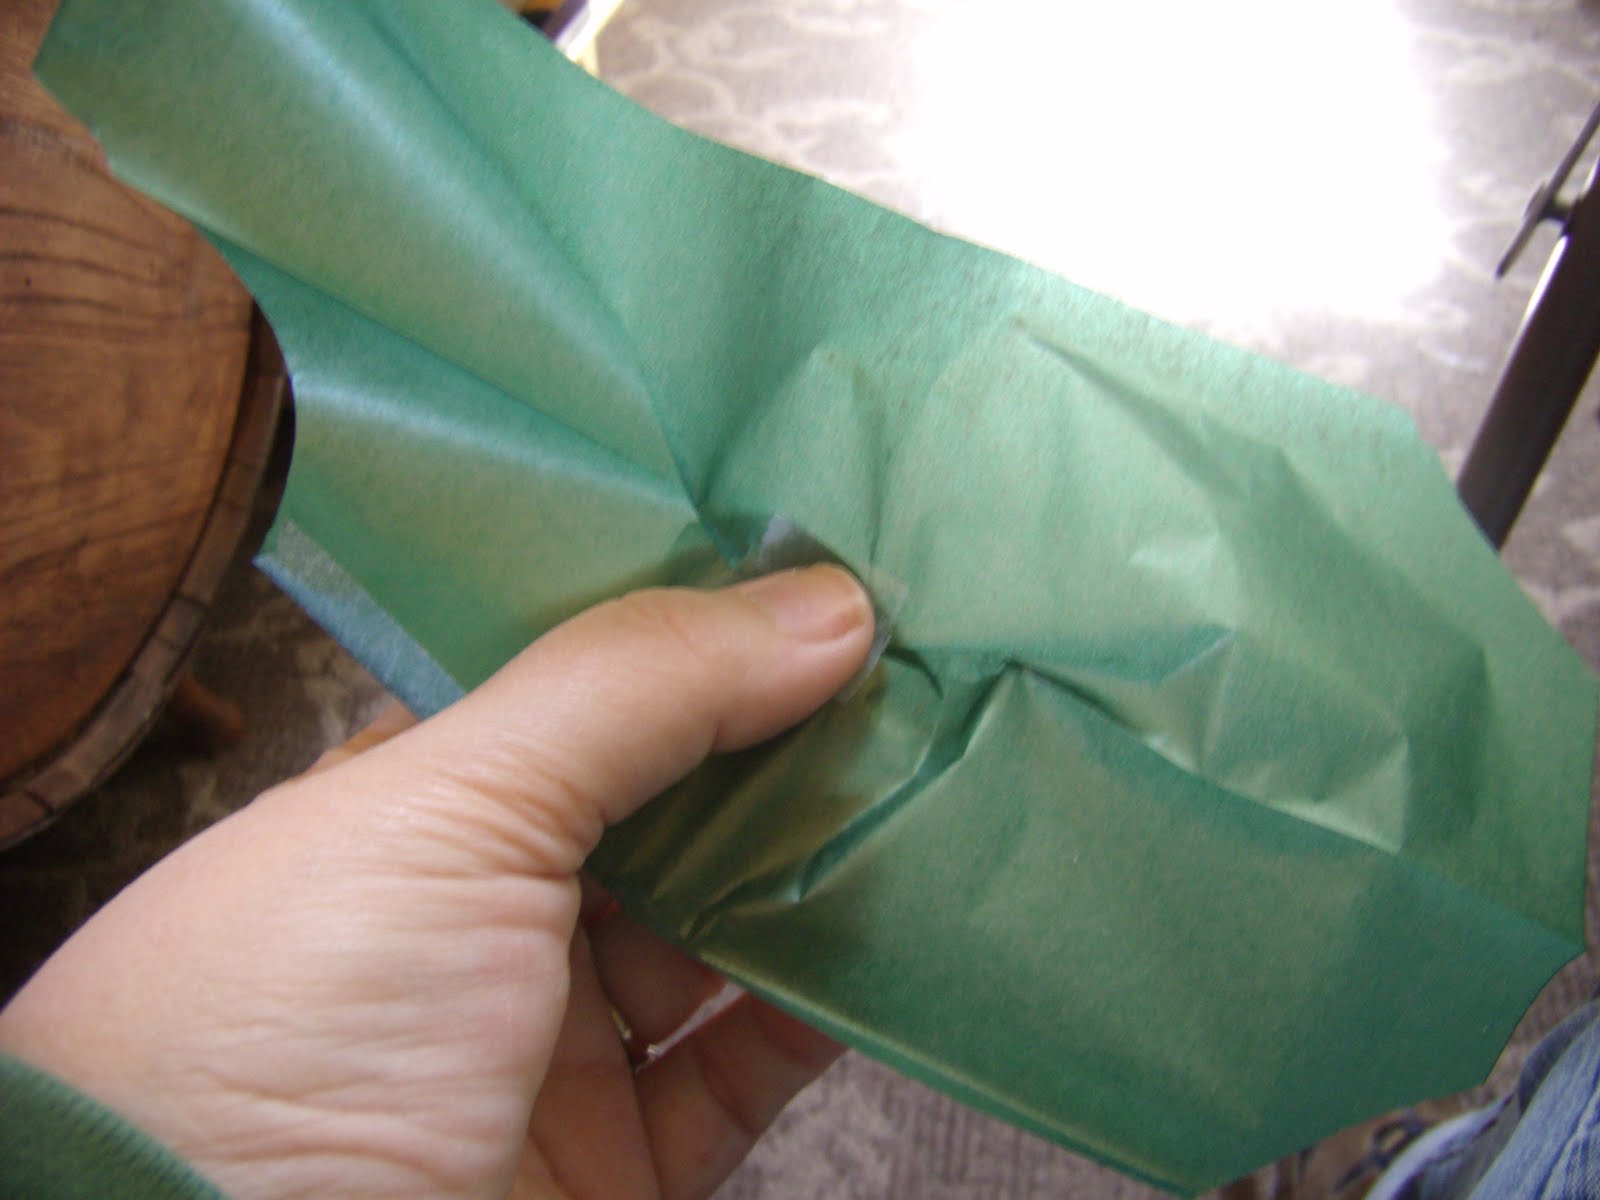 Anyway I cut a boat shaped leaf, taped it in the middle on both sides of the tissue and poked the pipe cleaner through to for a leaf.
 I'm not sure why but these remind me of pond lilies, don't they look like them?
 After having a brain storm with the Christmas ribbon being the center of the flower, all my 14 dinner plate sized pretties were done.

