


 I'm having one of those moments where I look at my work and think....where did I come up with all those ideas?
 Flowers, lace and free flow curtains add to the sparkling roof.
 The chimney is a sweet idea, cute, huh? (Forgive the sun in the photo).








I am a
Nigella
What Flower
Are You?
I'm having one of those moments where I look at my work and think....where did I come up with all those ideas? Flowers, lace and free flow curtains add to the sparkling roof. The chimney is a sweet idea, cute, huh? (Forgive the sun in the photo). I have saved the house for last because it's the most flexible for applique ideas, I can always come up with something even though I used the first idea on another building.
  So, what does a shoppe usually look like? It has neon "open" signs and some sort of advertisement for a beverage, beer or soda, it's always there. I figured the most recognized insignia is "Coke a cola" or something similar to it. I came up with a combination of Coke and Pepsi, ha! You get the idea.
 The grey square on top of the building is a A/C and heating unit, it also adds another shape although smaller in version.
 My canopy windows are close, close, close. They are bright on the brown and are clearly windows.
 I kinda thought since there is a possibility of making a mat and the mat will be without water, only land, blue would be the perfect color for a hospital. The original drawing called for a plain square building but since my roofing mistake, I changed the plan.
 I thought about a emergency entrance and came up with another shape, another way to use color.
 This is my idea in my mind, see the yellow door entrance? And my helicopter pad? I thought that was in genius. My hubby told me he wants to see them all stuffed, phooey. I'm still going to be pleased with myself. I hope the village all works together but don't tell him that.
 In the long run though, it didn't matter where the entrance was place because there are doors on all four sides of the building.
 I know they have b-e-a-u-t-i-f-u-l stained glass windows, but how do you do that with a scale so small? You don't. You give your applique bright color so the playing participants can get the idea. I also put opening shutters along side the windows, just to dress it up a bit.
 Following my drawing, and not really thinking, considering I made 2 black roof peak for the school, I made another peak roof for the church. If you look close you can see that I even stitched the centers to give it the appearance of a steeple. I guess I had to do it......but a peaked roof isn't going to work, back to the drawing board.
 Much better, better color too.
 I'll just figure the peaked roof to be used somewhere else. C&G Design
 This is my note page, for noting adjustment on the project pieces as I go. I had to start with a drawing though because I needed to get the ideas of the appliques, as it was I changed it all around anyway. I selected to start with the schoolhouse since it seems so elaborate.
 Ah....I have my seamstress chalk and room for a ruler to make straight lines. I'm tickled with the chalk though, it will get use!
 This village will be all felt and it will have unchangeable features to the houses. I'm not sure about making a complimentary mat yet, but it's a thought. Off to the sewing machine. Oh, did I mention everything is pinked?
 I've limited the lettering and decided to best thing is to stitch the ones I am using. I had a question for a buyer on Etsy about the paint I use being non-toxic. The best I could say was to tell her the brands and let her know they are on the market. Anyway, it is touch and go while trying to write with a small zig-zag but I managed something close.
 There are windows around the building with a fence on one side and two color shrubs with a tree on the other'
 I also added a bow in the back of the dress, the weight of the bow gave the garment more of a flare around her behind, giving her the effect she is bottom heavy, which she is...
 Here she is bald with the flash on......
 And again with hair.
 Here she is with out the flash....
 And here she is with a pre-flash, her skin can look so different at times. She also seems to have blush more times than others.
 Oh, and her name......
 What a nice day for Lu Lu.
 The sun is so warm.....
 I can see you this way.....
 and that way.
 I can see you under the shade,
 and close-up.
 But most of the time I like you to see me with my best friend. C&G Design
 The shoe were slotted to be Mary Jane's for sure. They were pretty simple to make too. Using the shoe pattern I used for the composition toddler, I omitted the tongue of the shoe to make a place for the strap.
 Two pieces of thin cardboard soles for each shoe. The first piece was used to hot glue the vinyl to the edge of it (first photo), don't forget to notch around the curves. The second piece was glued over the first to conceal the glued parts of the shoe. I also painted the cardboard to match the shoe.
 Check this out, I purchased this sandwich sized bag at Goodwill about a month ago, cost me a whopping $.99. My husband looked at me so strangely that I was even doubting myself! I wasn't sure what to really use these for, but I'm glad now that I bought them, duh....shoe buckles.
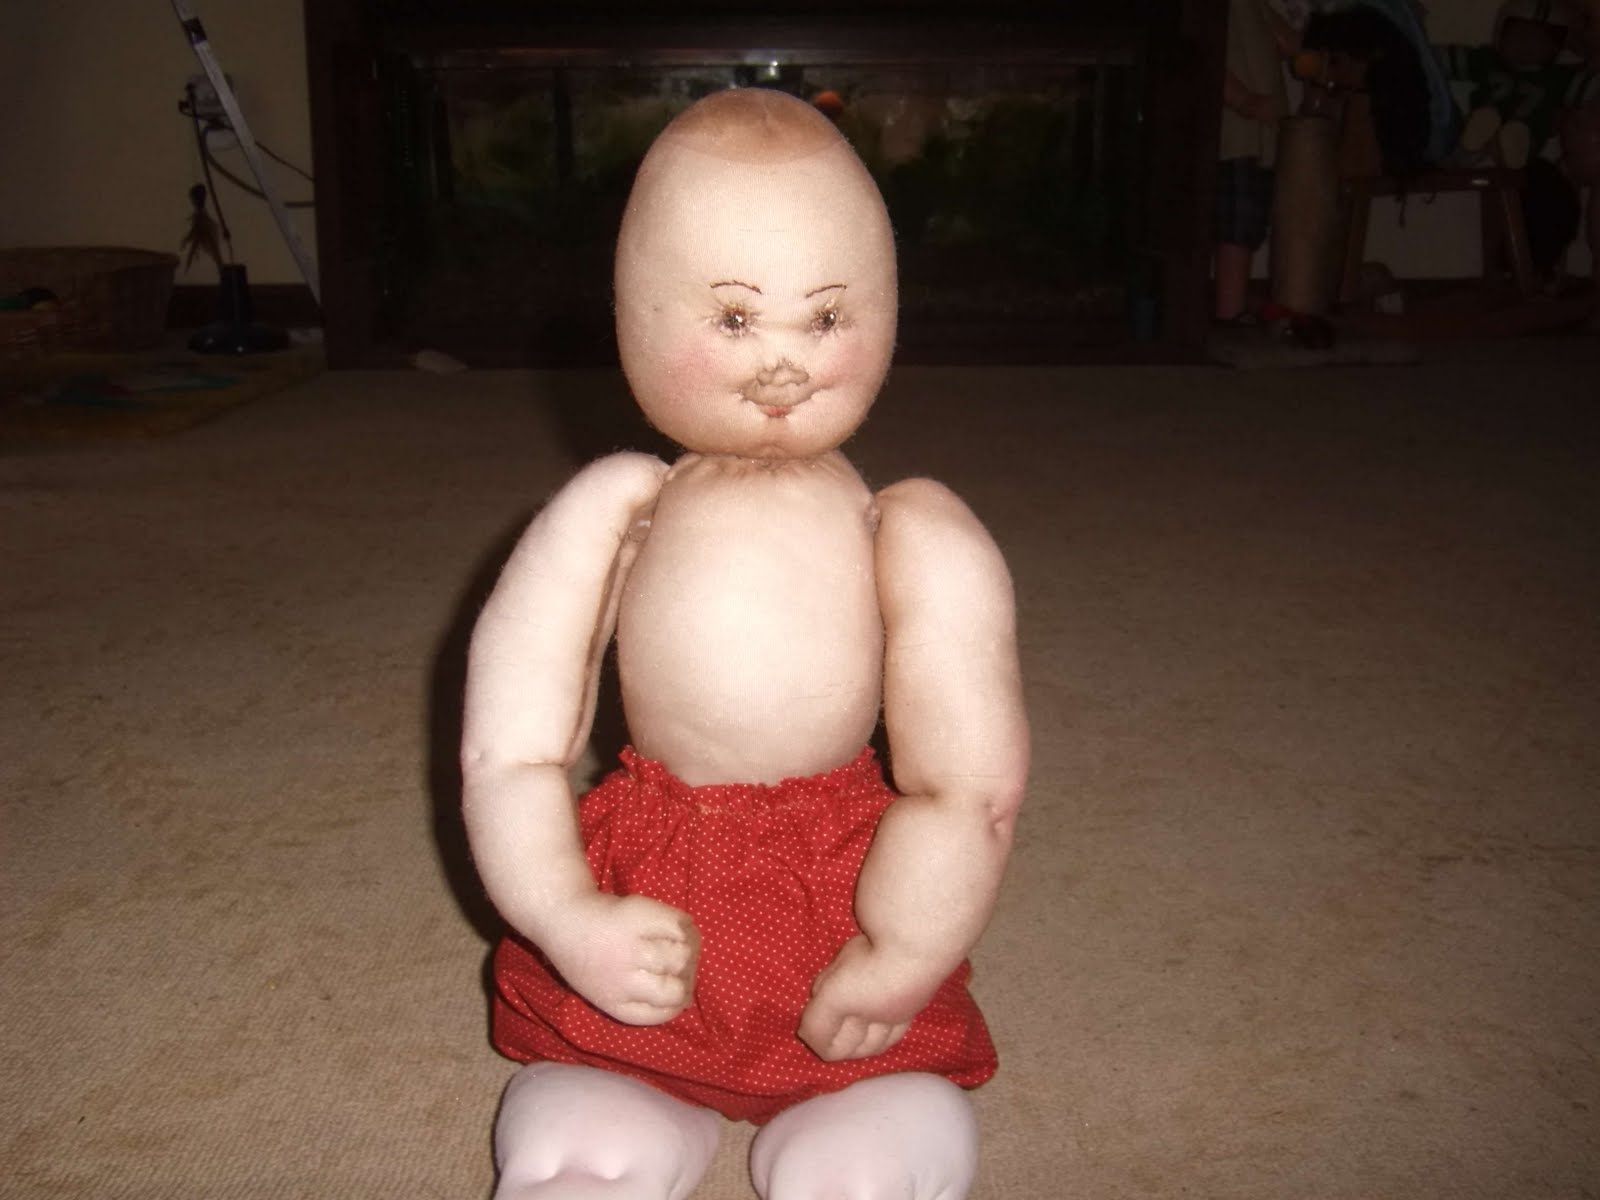 Another dilemma, remember my doll has tights on? What do you do under the dress. I decided a matching set of shorts would be nice.
 I also could not resist the cute little lace. It works to flare the dress, at least that's what I tell myself.
 I finished her arms which weren't so easy, one looks bigger than the other and I'm not sure which one looks better. Can ya tell I'm not all that secure with this procedure!?! I can't make up my mind on anything. Oh well.
 One little pearl dangle was all she needed. C&G Design
 My nose did not come out to well and I know exactly what happened. Any soft sculpture wants a start and finish with your thread (by the way, is clear nylon) to be at the back of the head. Well, I started at the back but I did not want to add a stuffed cap on top of the indent my thread would make, you see, sculpturing this is part pulling and definitely tightening. So I made a backspace knot beside the first nostril. Consequently when it came to tightening and placing fiber fill, my knot did not hold. Grrrr....geez! I had to go over the stitches again and it ended up to be too much. I made sure I was better at anchoring my thread.
 The eyes seemed a bit small to me but I kept at it, making the "crinkles" beside the eyes as toddlers have. What.
 The mouth, by far was the simplest. Each corner is tightened up with the inside of the eye to create cheeks.
  Ahhhh, no.
 And I ever....so carefully removed the ears, embroidered the brown in the eyes and painted the rest adding blush to the cheeks. I varnished the back of the head to have a stiffened surface for my hair and I clear coated the rest of the face with spray paint. The clear coating darkened the color but really enhanced everything. I clear coated because over time the tight stitches may cause a run in the nylon and the paints acts like nail polish in the idea it holds it all together. Oh, and I also corrected the shoulders although I need to finish it.
All in all, she's not bad, she kind of grows on oneself. C&G Design


