Geez, it's hard to believe that in a few years I'll being having my 30th class reunion. It seems like yesterday I was a senior in school looking forward to being done and graduated.I remember two special friends from high school that I spent quite alot of time with, Emma and Robin. Robin I hear from time to time but I seemed to have lost communication with Emma, until recently. I sometimes wish Emma lived in Maine but she lives far away so emailing has become our way of staying in touch.I was very surprised when Saturday my husband walked in with a package that had come in the mail. It was from Em, she sent me these adorable snowflake ornaments she found thrifting. She sent them with a wish that she hoped it brightened my day...yep, it did that!
(and I was just thinking of making these) By God, whomever crocheted these used the smallest hook possible, they seem delicate but I actually think they can take quite a bit, least a kitty batting them around.
 The other item that touched my heart is this glass frame....it states it all.Thank-you, Em. C&G Design
And P.S. I noted the address! Smart of me-I must be getter better!
These are cute, compliments of Snowcatcher.
Materials: Size 10 crochet thread, size 11 crochet hook, 54 beads, empty pizza box, wax paper or foil, cellophane tape, glue, water, glitter, small container for glue/water mixture, paintbrush, stick pins that won't be used later for sewing, clear thread or fishing line
Instructions
String beads onto thread. Keep them far enough ahead to prevent them from interfering with your work, and use one bead at a time as directed.
Ch 6, sl st into 1st ch OR make magic ring.
Round 1: Ch 5 (counts as 1 dc and 2 ch), *1 dc in ring, ch 2; repeat from * around 10 times for a total of 12 spokes; sl st in starting dc. Do not pull magic ring too tight.
Round 2: *Sl st in next ch 2 sp, ch 3, tr in same space, slide one bead next to stitch after 1st loop of tr stitch (bead should be in center of tr when tr is complete), ch 3, sl st in same space, ch 1, sc in next space, ch 1, sl st in next sp, ch 1; repeat from * around 5 times for a total of 6 petals; sl st in starting sl st.
Round 3: *Ch 2, hdc in next ch 2 sp, 1 dc in next tr, 1 tr in same tr, ch 5 (place bead in center of chain), 1 dc in 4th ch from hook, ch 2 (place bead in center of chain),1 tr in same ch, ch 3 (place bead in center of chain), 1 dtr in same ch, ch 4 (place bead in center of chain), trtr (yo 4 times) in same ch, ch 1, sl st in top of trtr just completed, ch 4 (place bead in center of chain), 1 dtr in same ch, ch 3 (place bead in center of chain), 1 tr in same ch, ch 2 (place bead in center of chain), 1 dc in same ch, ch 3 (place bead in center of chain), sl st in same ch, sl st in next ch, 1 tr in dc below, 1 dc in same dc, 1 hdc in next ch 2 sp, ch 2, sl st in sl st at base of petal, sc in next sc (between petals), sl st in sl st at base of next petal; repeat from * around 5 times ending with sl st in starting sl st; bind off. Weave in ends.
Finish: Tape wax paper or foil to top of empty pizza box. Pin snowflake to box on top of wax paper or foil.
Mix a few drops of water with a teaspoon of glue in small washable container. Paint snowflake with glue mixture. Sprinkle lightly with glitter. Wash paintbrush and container thoroughly. Allow snowflake to dry at least 24 hours. Remove pins. Gently peel snowflake from wax paper or foil. Attach 10-inch clear thread to one spoke, weaving in end. Wrap fishing line around tree branch (or tape to ceiling or any overhead surface) and watch the snowflake twirl freely whenever you walk by! Snowflake also may be taped to window or tied to doorknob or cabinet handle.
C&G Design
Words and photos by Dawn,C&G Design.
It took me a little bit to decide on what kind of Temari ball to make next, I have so many large spools of 2 ply wool yarn and quart size bags of embroidery thread (primary colors). So I came up with a ornament my mother-in-law made me many moons ago, the pattern looked simple and although she used variegated thread, I though a gradual fade to a predominate color would work well.
 My north, south pole along with the equator is made from the matching background.
I'm forever looking for a cool and interesting Christmas tree ornament to make, right now I'm on a thread "kick" as you can tell by my Temari ball post from a few days ago. This is something different....I found a nice tutorial at Craftsanity, she refers to them as "Dragon Boats" although nothing is available about the history on them. They are so simple as a piece of card stock.
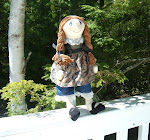
I seem to be remaking some of the old ornaments that I have sold on Etsy, I think I've finally got the hang of "up for retail" before the holidays. Did you know the Halloween candy is already discounted in the department stores? Ha! Just joking. This is Peter and Paul, you can see the original post here. They are from a pattern I made when being inspired by elves, I don't think I wanted them to be so skinny but I went with it anyway. I cut the first ones larger than my paper pattern and then forgot which parts I enlarged, remaking them is going to be a challenge but this time I corrected the pattern.
 These are a bit tricky to do, the face seam is in the center of the body fabric and you really have to know what you are doing when it comes to turning them right side out.
 This is the stage my husband make fun of me about, the body parts laying around. Each piece is stuffed and hand stitched, the bottom of the body is weighted. Can you see I made a major foe-par I made from the first pair? I never wrote the color of the fabric on each pattern piece and I assumed the hands were white. They aren't, they're red.
 I got my cheese box full of buttons and I hoped to find eight matching shanked, I did, all of them.
 These ended up taller than the others but I'm pleased with them. Attaching the legs are hit or miss since the bottom has aquariums rocks in it, it tends to shift while inserting the 4 inch doll needle.
 I had wanted to put bells on the shoes and this time I did, it works well.
 One thing that has always bugged me about these is the shifting in stitching, since it needs to be partly stitched in the hat and fully in the face before sewing it to the body, the hat gets pushed while turning my stitch direction and the fabric ends up overlapping, try as I might I can't get this to stop in this small area.
 Luckily I had my felt out (what a handy material!). The trim around the hat is perfect but would not be in any other place. I think it would take away from the primitive aspect of them.

So I tried to get a few photos for Etsy, I used stuffing instead of batting but it was windy on this day and some of it blew off, argh! I'll do them over on a calmer day.
 This photo is nice, I think I'll use this one but that's it. When I looked at the original pair I discovered I forgot the eyebrows also.
 Whoops. C&G Design
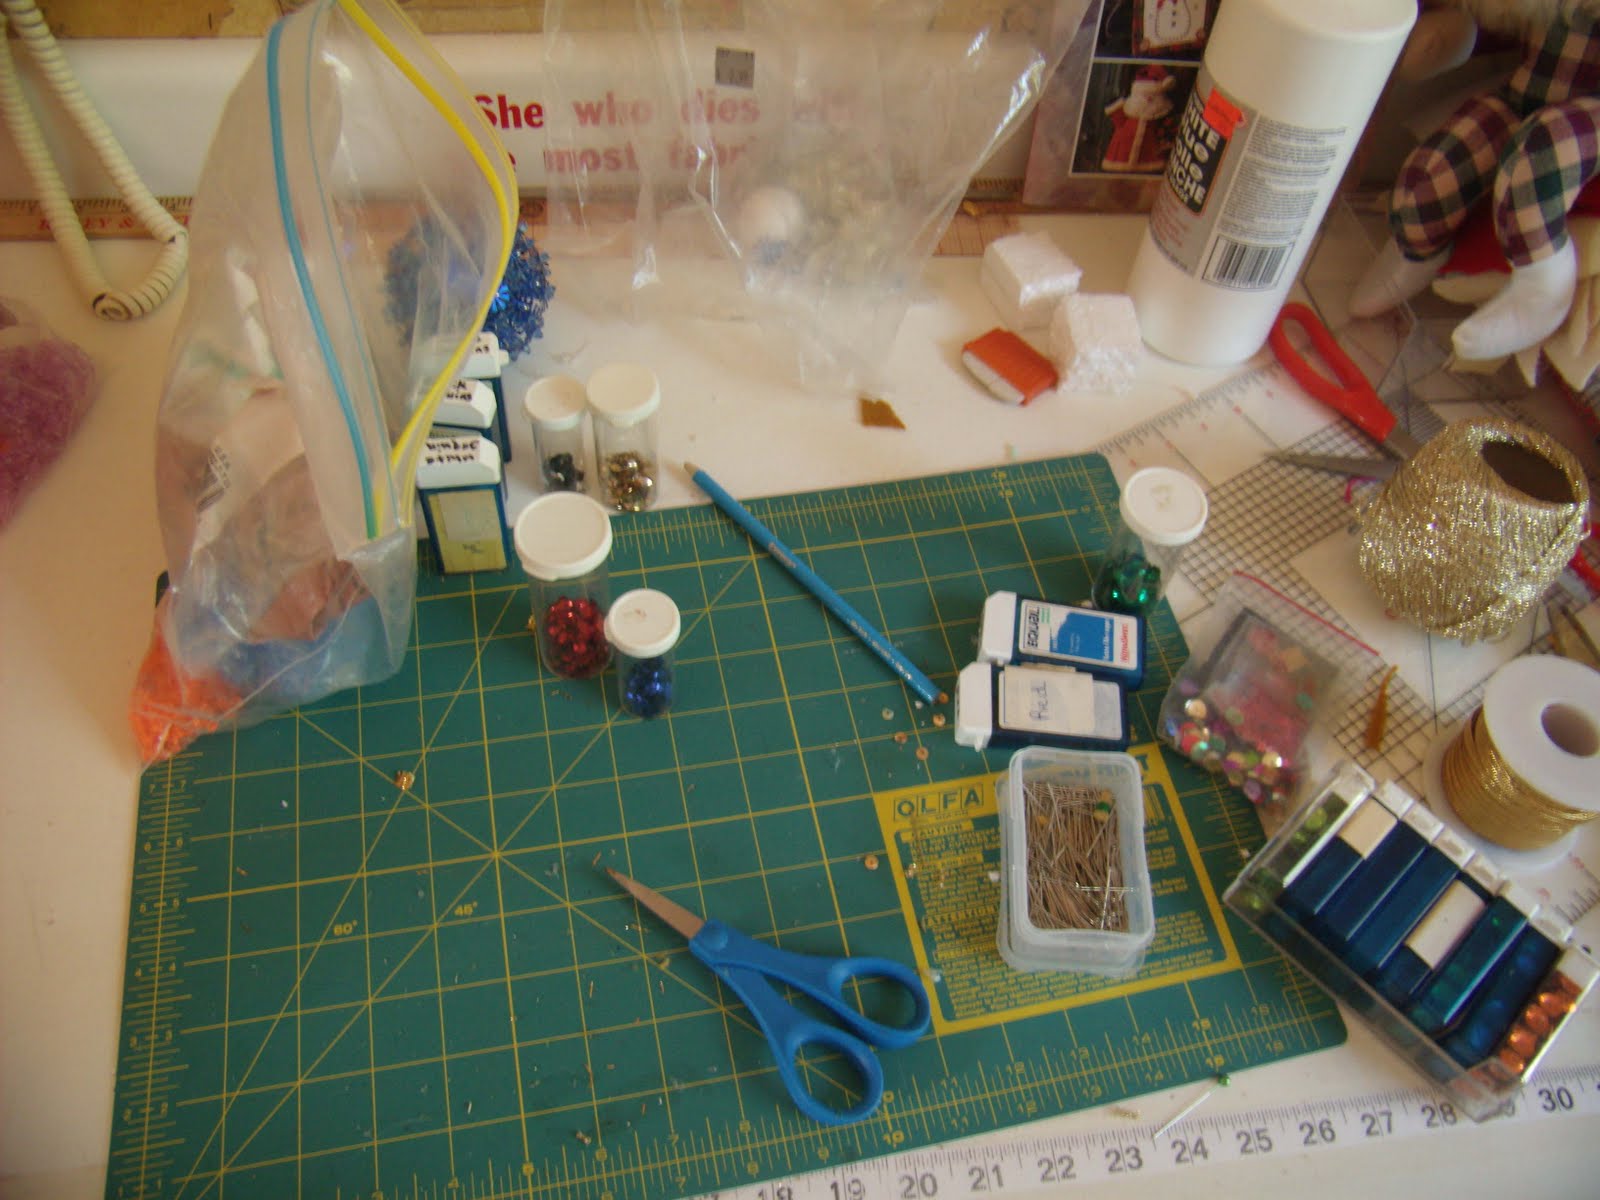
I guess maybe I don't have a white. Red, white and blue all go together, I know, it's the saved styrofoam!Anyone who follows me knows I make my Christmas ornaments in a set of 5, this is number 2 and 3. I finally got smart and decided I would set up pins with their respective beads and sequins. That way it went rather fast and I didn't really have to deal with the messy glue while picking the ornament up and putting it down, duh.










 I sometimes wish Emma lived in Maine but she lives far away so emailing has become our way of staying in touch.
 The other item that touched my heart is this glass frame....it states it all.