


Showing posts with label doll clothing. Show all posts

Thursday, April 1, 2010

Soft Sculpture Doll-clothing

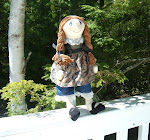
Time for a update on my soft sculpture doll, I had abandoned her for 2 weeks because her clothing were a major decision for me. Should her dress continue with the old time techniques and have cut work? Puffy sleeves? Smocking in the back? In the end I left it plain. The shoe were slotted to be Mary Jane's for sure. They were pretty simple to make too. Using the shoe pattern I used for the composition toddler, I omitted the tongue of the shoe to make a place for the strap.


Two pieces of thin cardboard soles for each shoe. The first piece was used to hot glue the vinyl to the edge of it (first photo), don't forget to notch around the curves. The second piece was glued over the first to conceal the glued parts of the shoe. I also painted the cardboard to match the shoe.


Check this out, I purchased this sandwich sized bag at Goodwill about a month ago, cost me a whopping $.99. My husband looked at me so strangely that I was even doubting myself! I wasn't sure what to really use these for, but I'm glad now that I bought them, duh....shoe buckles.


They came out really good, the bits of school glue you see in the front at the toes will be covered with a sharpie, I reinforced it with the all purpose slow drying glue because vinyl is plastic and I wanted to be sure the hot glue will stay. Alittle blush on the knees, elbows and back of the hands.


Another dilemma, remember my doll has tights on? What do you do under the dress. I decided a matching set of shorts would be nice.


I also could not resist the cute little lace. It works to flare the dress, at least that's what I tell myself.

I finished her arms which weren't so easy, one looks bigger than the other and I'm not sure which one looks better. Can ya tell I'm not all that secure with this procedure!?! I can't make up my mind on anything. Oh well.
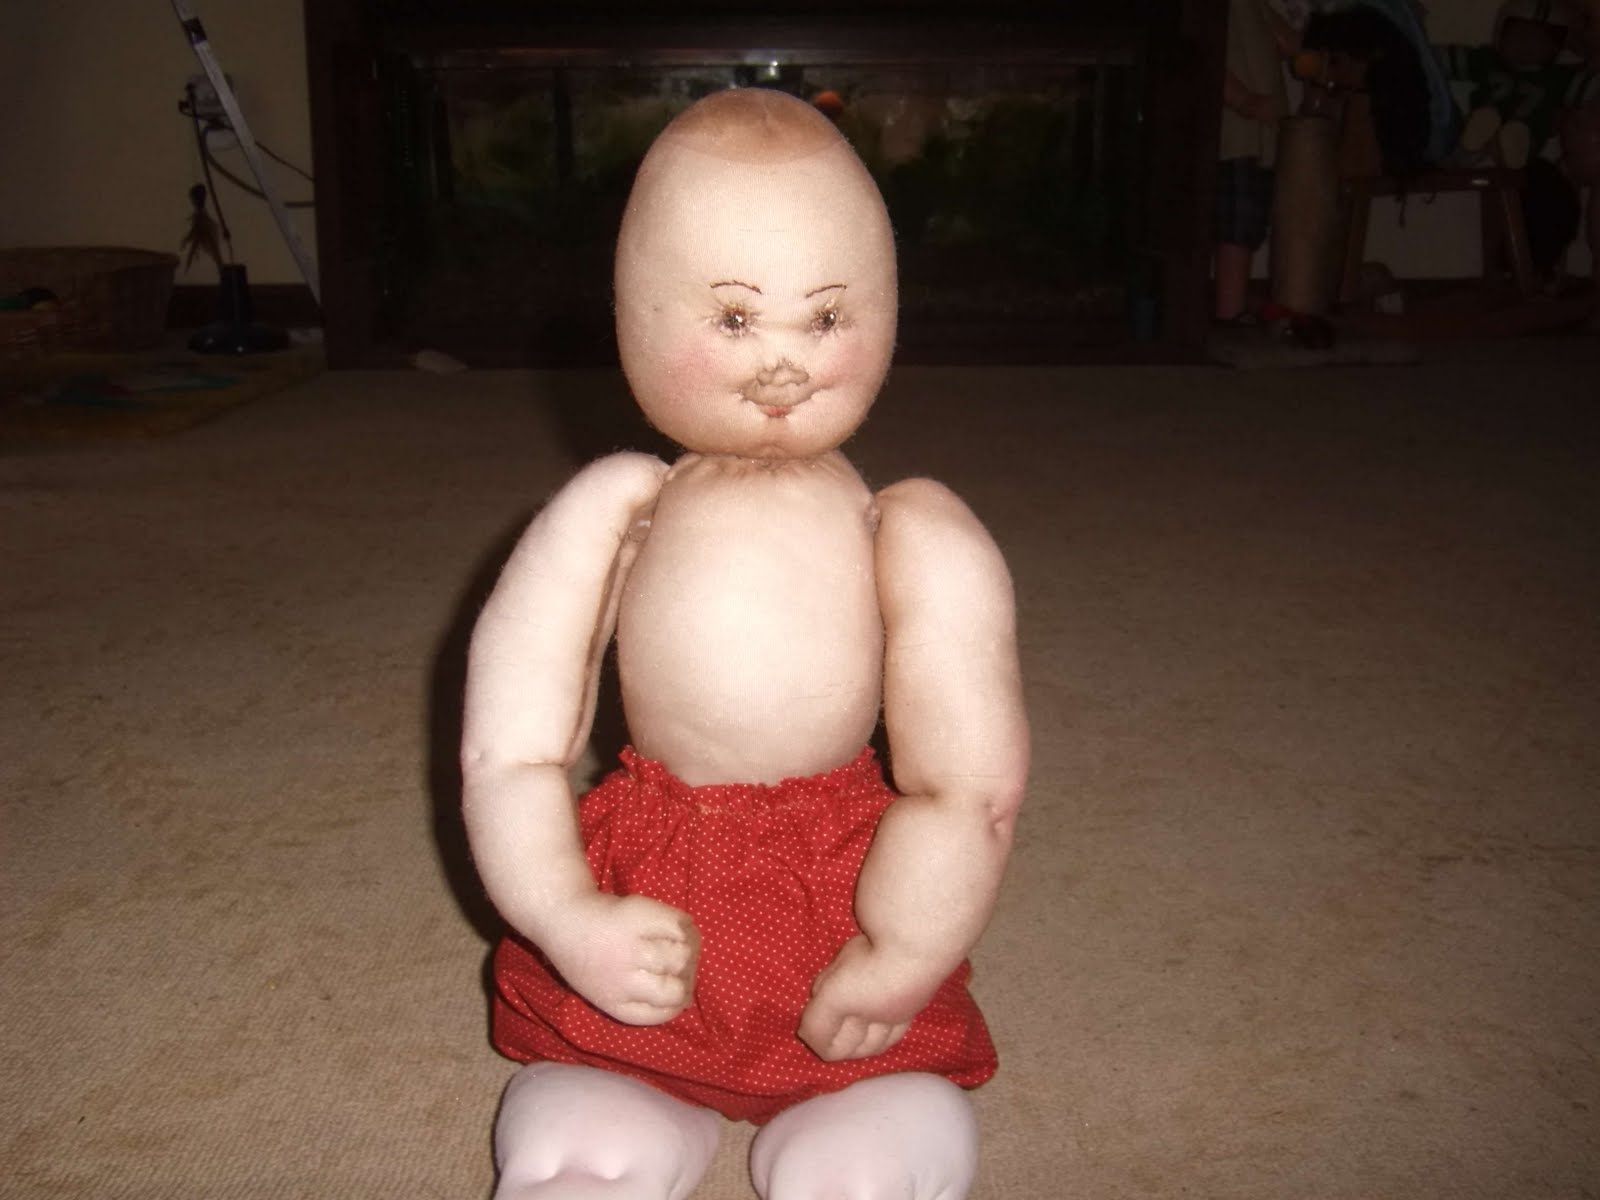

Might I mention she is completely done and I'm happy with the results. She will be revealed on Monday, along with her name (as usual).


One little pearl dangle was all she needed. C&G Design


Have a lovely April fool's day all!


Words and photos by Dawn,

C&G Design.

Thursday, March 25, 2010

Kathy Cry Baby

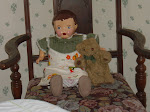
Everyone has heard of Madame Alexander Dolls, everyone who have kids and go to MacDonald's that is. She is the designer of the little dolls they gave away in the happy meals but she has been around forever.I have my first ever Madame Alexander doll and guess where I located her? Yep, GW. She came like this; a slight eye issue (seems as if this particular doll has this problem, somewhat visible in the first photo), a infant suit, mussed hair and general dirt smudges. Poor thing. Pretty good for 52 years old though. Well, the first thing I did was look her up on the Internet. She IS marked mmm at the top of a circle with Alexander in the lower and 1958 in the center of the circle. Do you know how many Alexander dolls there are? Plenty. At one point I thought I identified her only to be disappointed when I put the name in a search engine individually, not her.

This is what eventually gave her away, Kathy Cry Baby, (the smaller photos were taken from EBay) A smaller eraser sized hole in her back. Apparently Kathy Cry Baby had a squeaker at one point and the next dog toy that gets shredded.....she'll have another again. Kathy is also a drink and wet doll.I had, had to do something about her over sized outfit (BTW, vintage larger doll size), enter the photos. There was one more photo of Kathy in a organdy dress but I was partial to the jump, I think the dress was a single purchase. The jumpers still have the Alexander tag with the Kathy name on it, original to her. So! Where to start. Gingham! That was the answer. Thanks again, Lola!


It took me one afternoon to whip up this cutie. I washed Kathy with soap and water, combed her hair and readjusted her eye a little. Her eyes are paper weighted and if they can open and close easily, better off leaving them alone, plus I know nothing about setting them especially in vinyl. Isn't she cute?

The shoes are not original to this doll but the hat is, it goes with the jumper and I will make a matching one within a week ....maybe.

I have to get back to my soft sculpture,
she keeps looking at me with pleading eyes!
C&G Design

Words and photos by Dawn,

C&G Design.

Tuesday, March 16, 2010

Smocking

Well, I'm still plugging along with my soft sculpture, the plans have changed so much that I decided to just go for it and start her face. I got impatient waiting for the eyes to arrive in the mail and maybe that wasn't a bad thing since the eyes wouldn't work anyway, they are too big. Anyhow, I'm sort of sticking to the pattern except the attire is not part of the deal, the author fancied her doll in a pretty smocked dress she'd made for her granddaughter and causally stated a vintage dress can be located at a local thrift store. Nah, least I can't locate a cute little girly gown. So with that in mind...I decided to make my own custom smocked dress. It sound much more difficult than it is but it's really kind of simple. Using a straight edge you mark a series of dots on the back of your fabric, be careful to measure spacing, both vertical and horizontal.

Using the same color thread as the garment, you do a running stitch with long and shorts, the short will be under the dots.

Usually you will need a even amount of rows but it doesn't really matter, the only time it would be a problem is if you smock with a certain amount of rows on your pattern. I've used six rows here.

When all your rows are evenly stitched you will have to grasp the ending threads in one hand and using the same amount of tension on each thread, pull, gathering each row at the same time.
I actually ironed my pleats because for me, it makes the last step easier. The smocking.

I picked the outline stitch because it's the most simplest to sew. Basically it's looping over 2 pleats, reversing on the backside to stitch up thru one pleat, coming out under your loop, repeat. It's really easy and although all your fingers need to be doing something all at one time, it's worth it but a bit cumbersome.

My fabric is a rust color although on my monitor it looks orange. C&G Design


Words and photos by Dawn,

C&G Design.

Sunday, January 17, 2010

The Dress

This is one of the prettiest dresses to work with, all boudoir doll have some silk on them be it a shirt or a turban or the whole dress as in mine. Well, I could not replace the sheer black lace that was originally on this dress so I picked something more sturdier. This lace started out white, black lace is hard to find at a reasonable price. Anyway, I have black fabric dye so I thought....hummmm that will work. Wrong-o! The lace has a base of polyester so therefore the dye took to a grey color. Spray paint to the rescue! Some may think this to be a bad idea but "Le me tell ya," once the lace was hand stitched on, the red of the skirt flared like it is supposed to with a stiffened slip. So beautiful.

I decided on this red and gold trim because I have the red and gold going on, it matches wonderfully. I stitched it on each sleeve, each layer of the skirt and around the neck. My main embellishment was strung through the trim because it is very heavy.


How pretty is that? One last thing to make her proportionate, these dolls have stuffing in their gown sleeves.


Better.....


Remember, my doll is 30 inches and I do not have a doll stand that goes that large so it's hard to photograph her but once she is done I will have Madame hold her so you can measure her size. One other thing, the marking on her back is actually M-K- with IN below it. I found out that she is a keen eyed boudoir doll manufactured by Victor Keney. Not much is know about this doll maker and not much is published about him. One true thing is, she is very collectible being a keen eyed. I was delighted and glad I left her eyes untouched.


On to the wig. C&G Design


Friday, January 15, 2010

Body Building

How do you go from this? To this....well, it isn't easy. Every boudoir doll is busty, it's part of the image of glamour.
Starting with a tank top under piece, you pin it until it's form fitting. Much like the top of the dress is in this photo.

All of my dolls are hand stitched so it would make sense the undershirt would be hand stitched, the one problem people will have is needing to leave one side open to make adjustments. It's a bit of fan dangling the fabric to make it fits but when your done you can stitch the open side while it's on the doll, stitch it closely.
Once the chest was done I move onto the legs. The prior owners had bent the long skinny legs in the middle so the hay was ruined and still felt apart. She lacked a lot nearest the body, even with the material being complete and no holes in it for the hay to spill out. I took the seams apart and added shavings to bulk her up some.

Then she was ready to construct. The pantaloons slid on and were stitched to the body.

As was the slip attached to the undershirt. One note on cheesecloth, it tends to cling to itself so I will not be using this in the future, it's fine for the pantaloons but not for the slip as it doesn't help flare the skirt, the cheesecloth just bunches.

She is almost done! EAHHH!! C&G Design

Thursday, December 31, 2009

Finishing my lovely doll

Now came the moment of excitement, time to assemble my recent doll project. I removed all the wrappings i placed on her to protect her from painting and decided the arms would do better if I re-attached using a bias. Bias is cut on a angle to the warp and weft (the weave) and it provides extra strength. Can you see the stuffing coming out from under the shirt? This stuffing is placed on top of a under dress that had attached sleeves and skirt. A silk white dress. Instead of using the desegregated silk dress that's underneath, I stitched everything to the decorative over vest. I also found the shoulders had thick stuffing too.

This is the point I start going "awww" because it's come to the pleasure of seeing it all form together.


I hand stitched my imitation tatting to the bottom of the skirt.....


and pleated the top of the skirt, I got the idea from her slip.


Ta-da! My lovely doll is taking shape with her neck trim folded and stitched down....her waist trim hand stitched perfectly......


and her slip with the pantaloons are hand sewn to her body.


Now onto the wig.....this may take some time as I have to think about it. C&G Design

PS, Yesterday I wished Debbie, one of my readers, a happy birthday and later I discovered she had a heart attack on Saturday after not feeling to well thru Christmas. If you have time hop over to her blog, Blueberry Plains on my sidebar, and wish her a speedy and well recovery. She is still in the hospital but is doing good and getting around. Psssst, the waiting room has wi-fi computers!


Sunday, November 22, 2009

Boudoir Doll-part 2

I received my 6 patterns in the mail the other day, how wonderful they are. MJ from Mj vintage patterns enlarged these patterns to what seems like a enormous size, I'm guessing Kewpie is approximately 24 inches tall, that's giant size for the little doll! Anyway, I finally got a breather to look closely at the negligee for the boudoir doll and decided I had a snafu. The pattern states if your doll doesn't have a chest you'll have to add one with a piece of silk stocking and fiberfill. Well, I'll be...... Come to think of it, I don't believe I have ever made a chesty doll before, never thought of it before. The pattern said the top of the pajamas wouldn't work if the doll didn't have a chest, because I really thought of trying it without the boobs but in the end, I gave in and made them, as you can see.....a reasonable size, not too big, not too little. I must admit, it says something for the doll.

I have not shown the turban yet (but I will), trust me when I tell you it is silver, where does that leave me? Silver negligee? Or silver underwear? The fabric is pretty stiff so the underwear it is, I was afraid that once the negligee was done, it wouldn't flow quite right with the stiffness, that's the reasoning behind my decision. Turned out this stuff is awful so the little of it the better! The treads came loose all the time and it's just not that pretty, just the same...I was determined to match it to the hair turban.
She came out pretty good and even with a 4 times reduction in the pattern nothing was lost from the shape of it.


How does she look? Maybe next time I could make a smaller waist although she might not be able to sit this well if I do. C&G Design.
PS, Blue, pink, or green were the choices for the negligee, can you guess which one I used?


Monday, August 24, 2009

Composition doll, Dress

I'm almost done with the composition doll #1 that Kathleen passed onto me, I really love the little dress she was wearing and at a attempt to save it, I hand washed it with Woolite in cold water. But my efforts could not mend the little holes on the bib ruffle.

The slip/pantaloons washed up really good, seems I would have to replace the little yellow party dress though.

Which looked awful after I hung it up to dry, Maine weather....if you don't like it wait 5 minutes and it will change, true on this day, not a cloud in the sky until I hung out the dollies laundry to dry!

So down at the machine I sat. No bother, I have the perfect fabric to make another dress for doll #1 (I need a name), it's the same fabric, rayon, and pale pink. It's so pale it can almost look white.
If you enlarge the close-up photo of the yellow dress you'll see part of the reason why I'd hope this little thing would be good, it has a scallop edging on the bib ruffle. I was pretty sure my machine could do a better, much thicker, scalloping. Trouble was, I'd never used it before, especially on a tender fabric as rayon.

My husband likes to tell people that I didn't, or wouldn't use this brand new machine for a couple of years after he bought it for me. He was so proud of the purchase and being very informed and knew it would do many more things that I would enjoy. But for years I used my old machine, I was very intimated but all the electronic and worried I'd break it.

This was the day of truth, see that my machine was clicked over to scallop stitch? There are a few more things that need switching, size of the stitch, both length and width. I had done the swan stitch and the tulip stitch this way and didn't have a issue. Simple.

No, not so easy, all the machine would do is zig-zag, *sigh*, I resorted to reading the instructions. Which seemed to be of no help. The stitch I wanted was classified as a decorative stitch (letters C to I), falling within the satin stitch program, "Place dial on F". Well "F" is the shell stitch and that was zigging and zagging all over the place. The beautiful lighting stitch didn't work either, that's the drop down box looking shape you see on Indian blankets. Anyway, "decorative stitches" weren't computing. I got so frustrated with it and I tuliped stitched the hem of the dress, I chose a contrasting color thread.


I felt pretty silly when I took the time to really review the directions in the manual, I was not going to not do the scallop edging! The "F" dial was on the stitch length, well! That would make sense since satin stitch is a side by side stitch and has no length!

Finally.


I used hem tape on the bib ruffle, I did so because with rayon, it is harder than heck to get a even hem let alone on something as small as a ruffle. Hem tape is ironed on then the paper is removed leaving a small rubber like line holding the hem down.

(I guess my thumbnail is still jaundice from dyeing the wig!)


I was quite happy with the bib,

and even happier with the dress.

The flower stems....

and the done dress! It's cute, it's so cute....


I decided, after I made the repairs to the shoe, they needed alittle juicing too! C&G Design.